


Brilliantly Simple Assembly
How to Install Your Flying Wall Shelving System
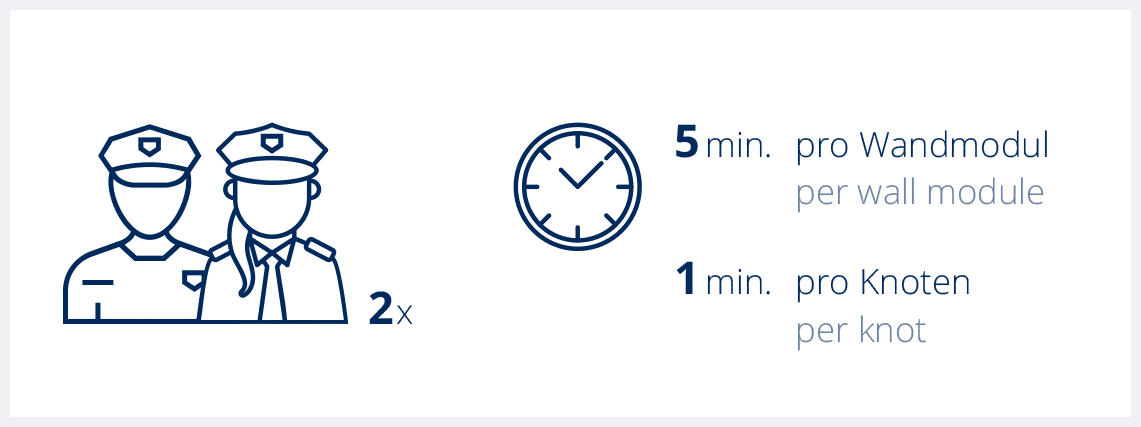
Tips from Our Flying Wall Expert

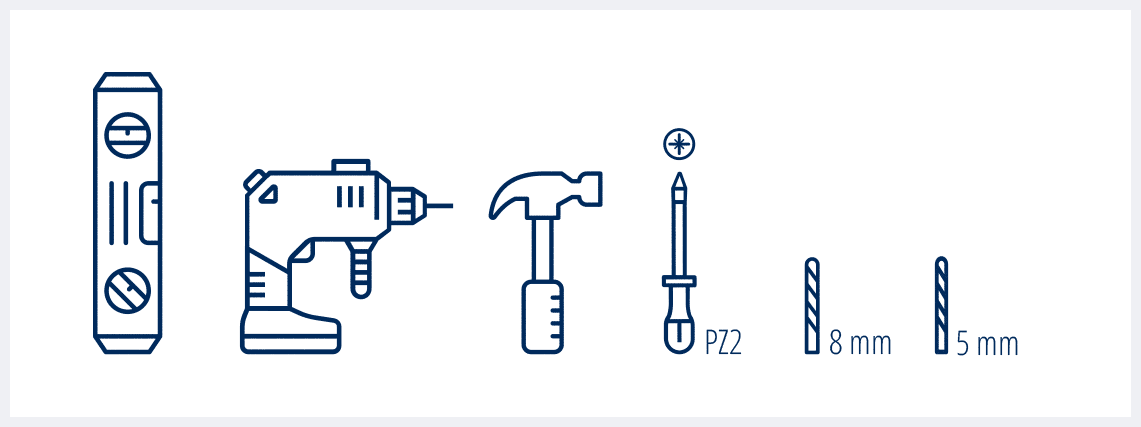
Here's what you should have on hand
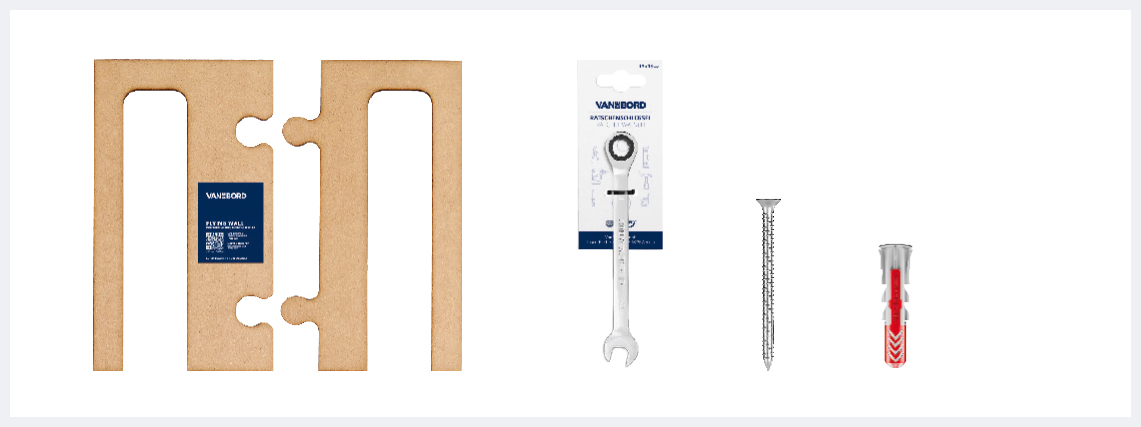
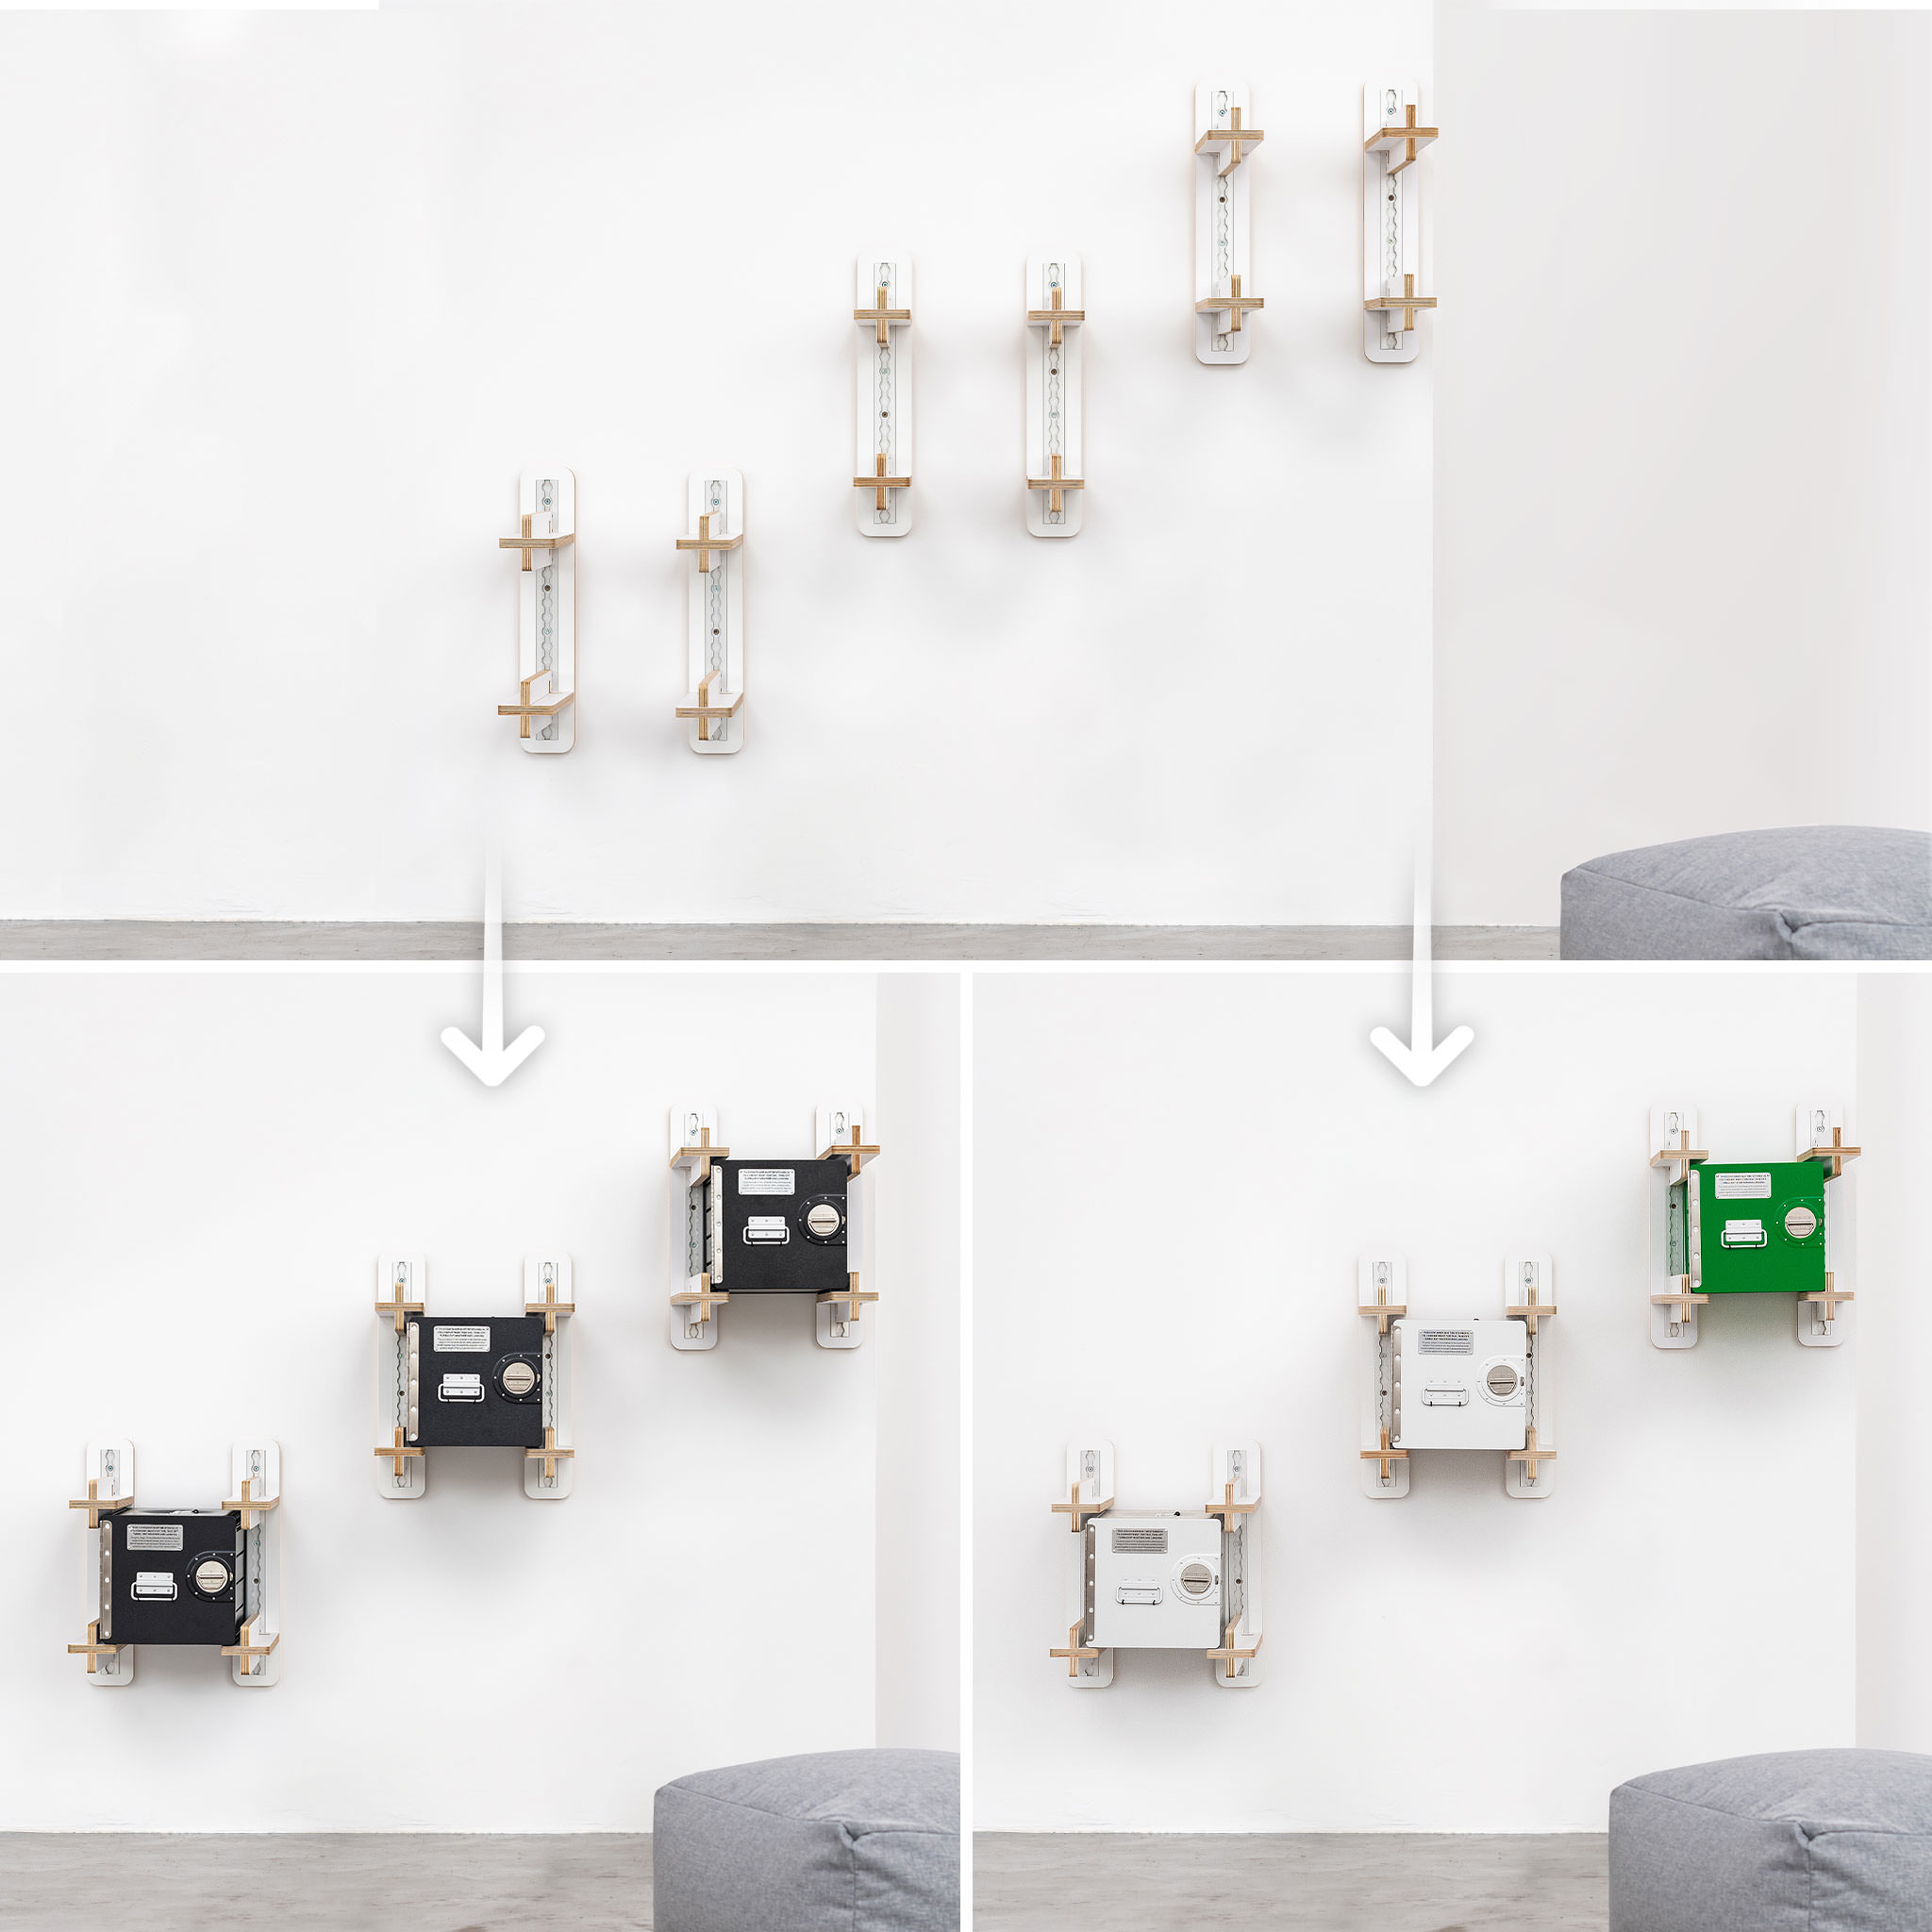
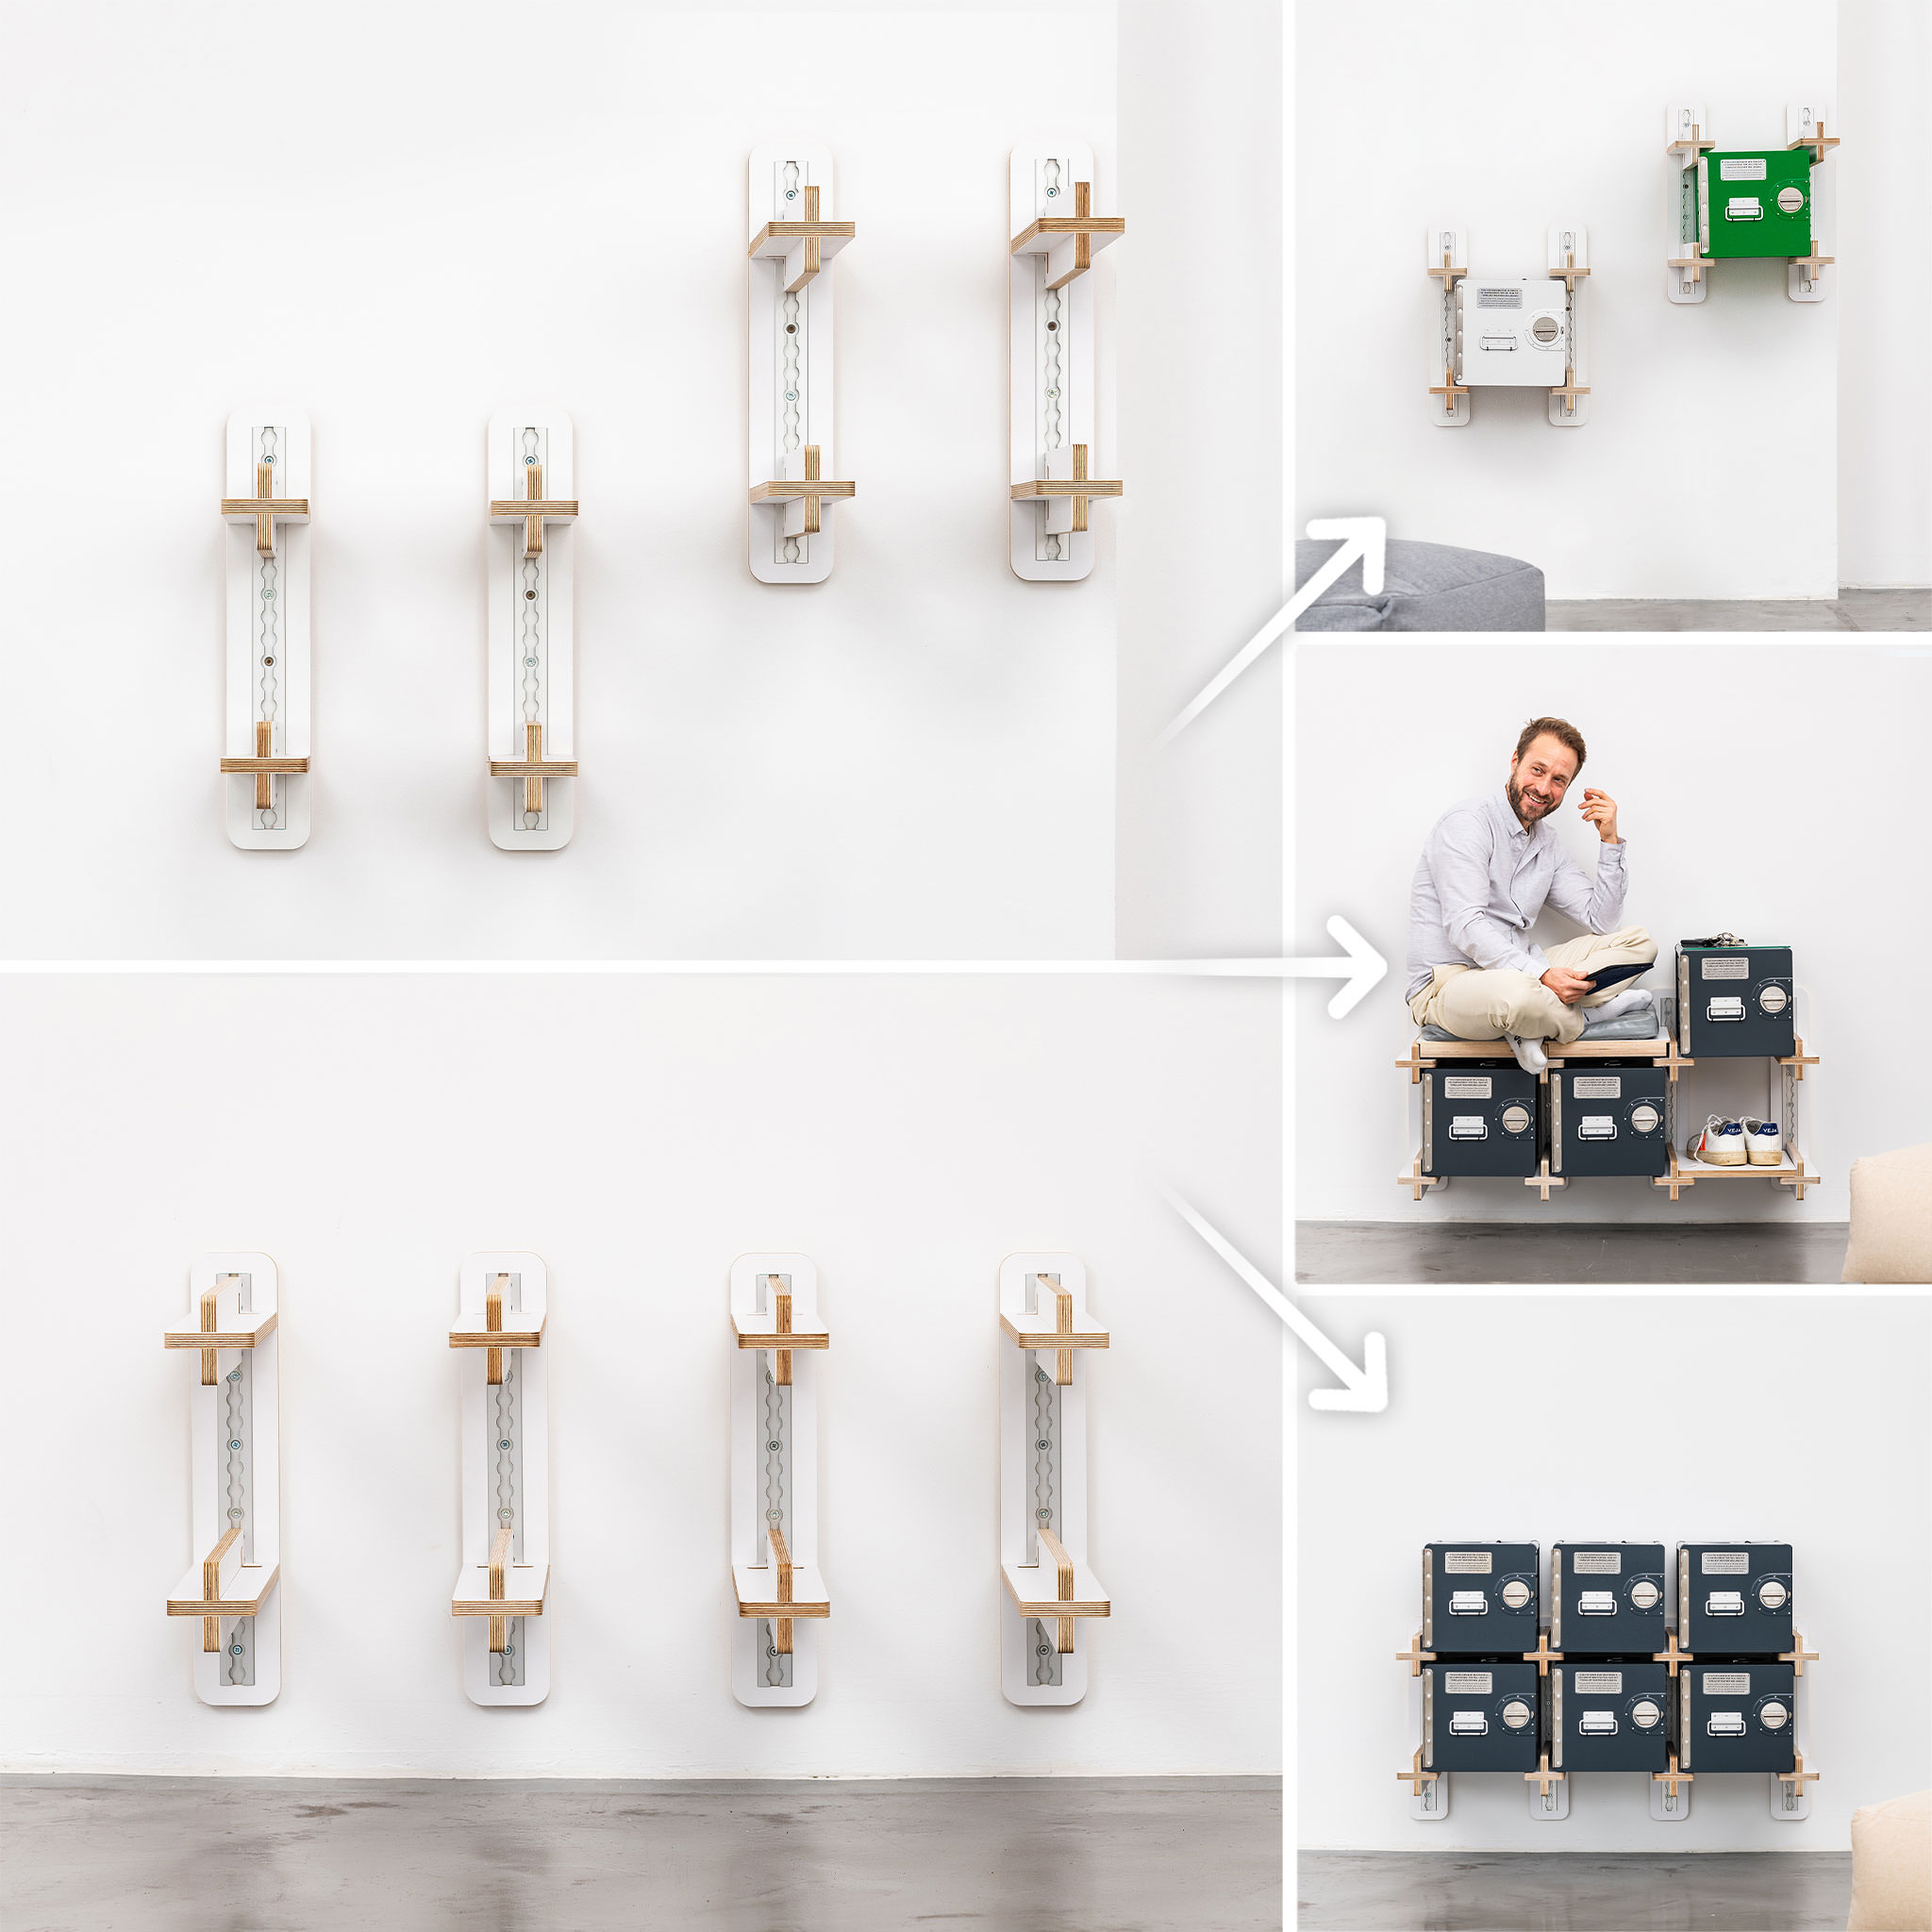
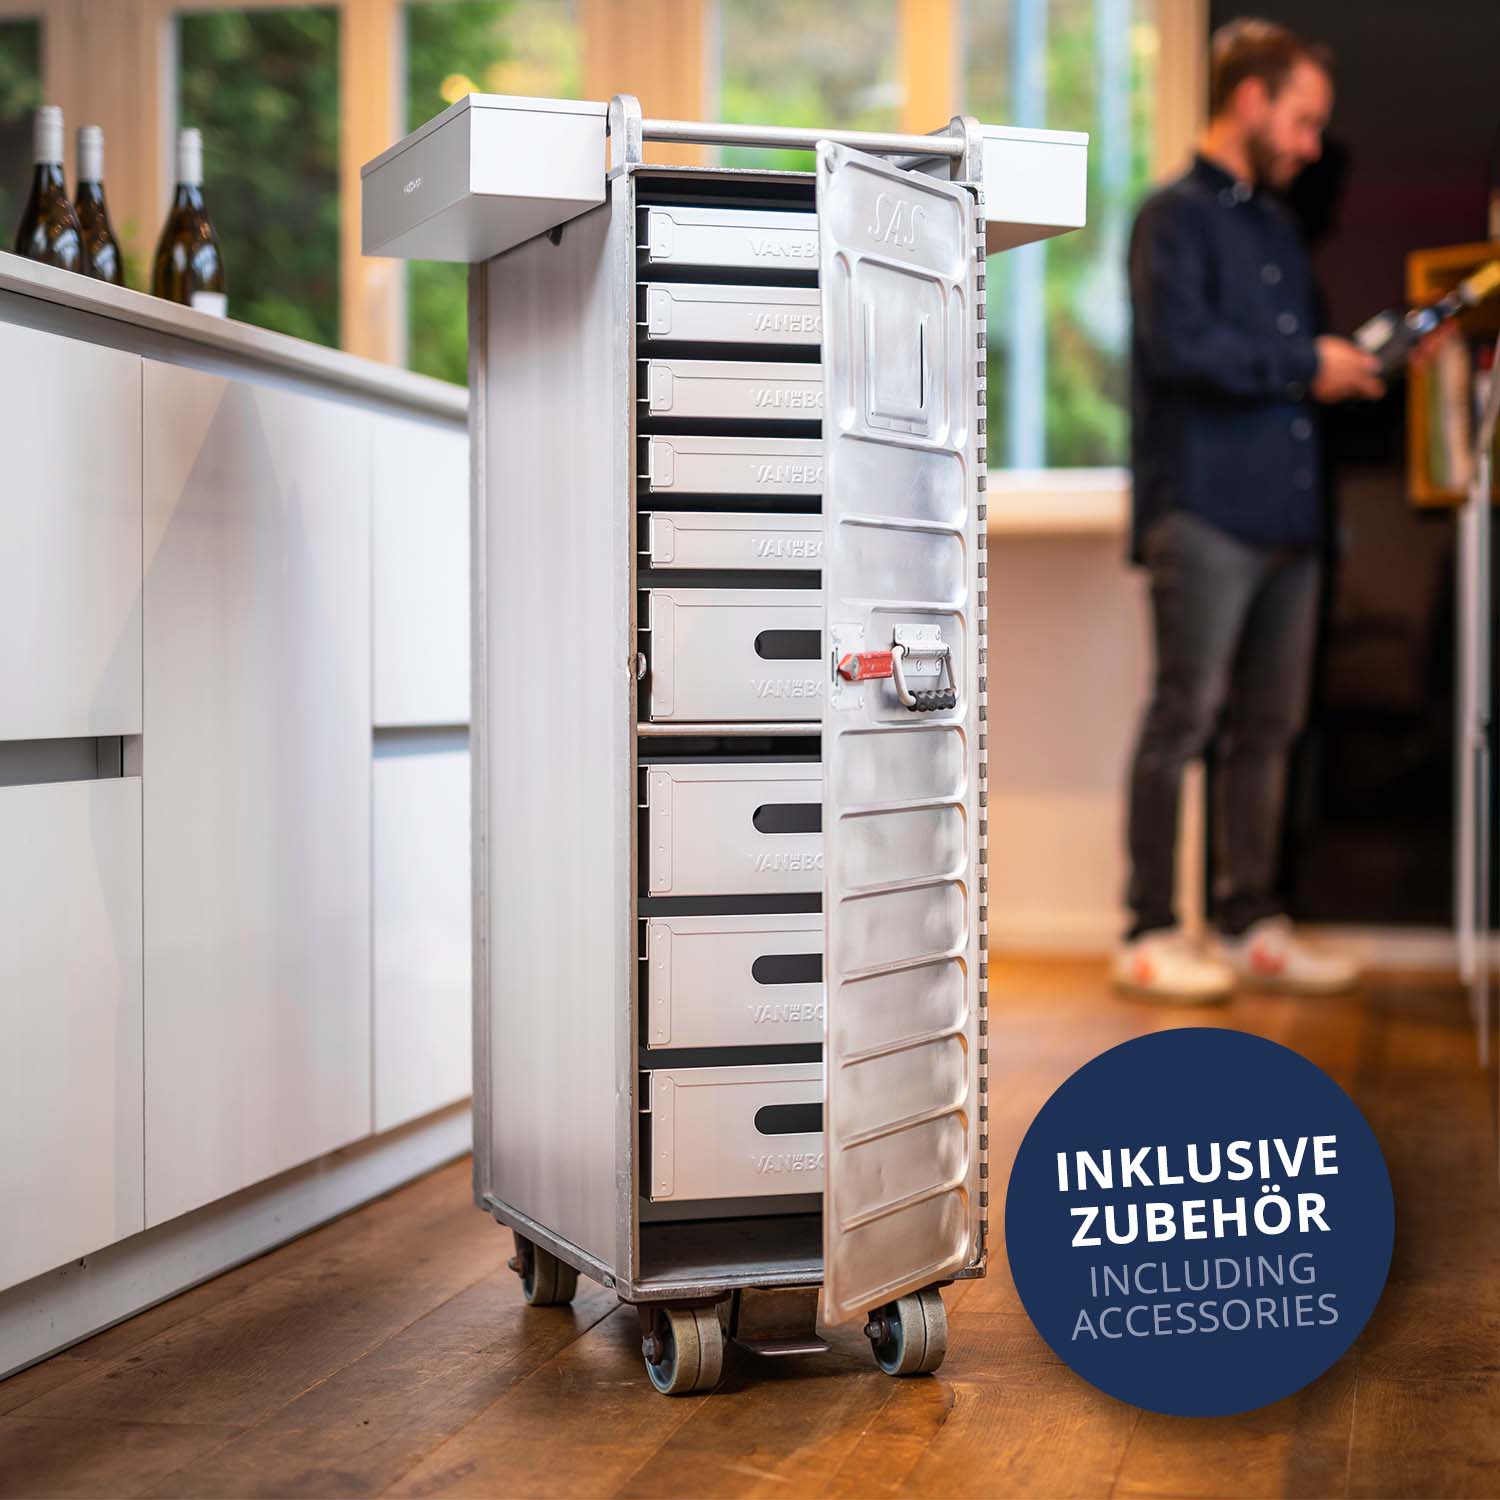
Included in your Flying Wall set
Prepare the Mounting Template
Place both parts of the mounting template on the floor and stand on them with your feet to connect them.
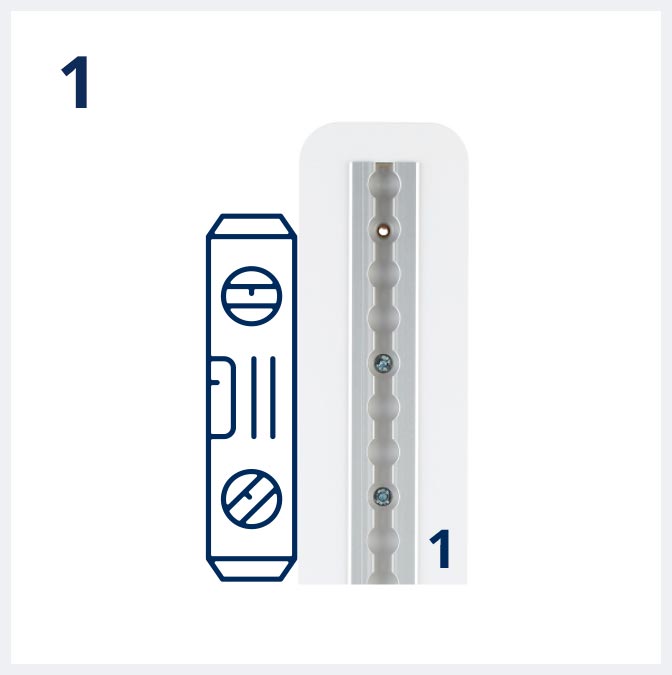
Align the 1st Wall Module perfectly vertical on your wall with a level. This will be your starting point.
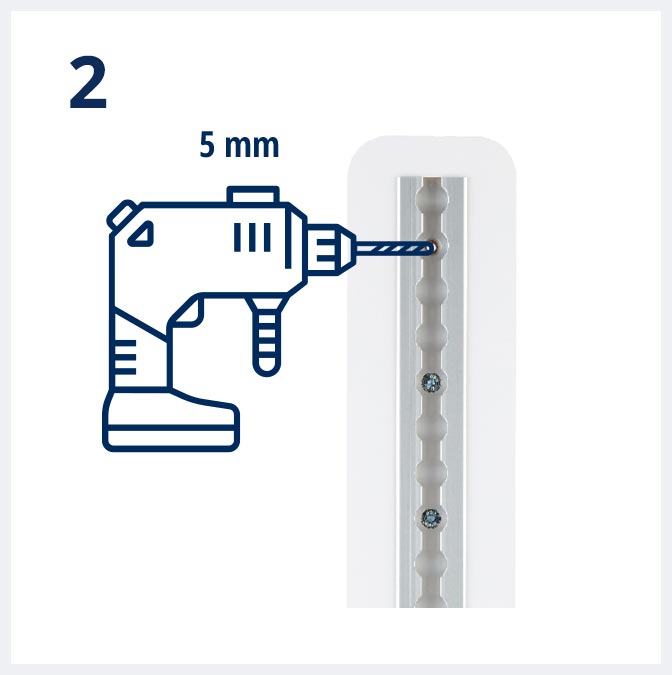
Pre-drill all holes using a Ø 5mm drill bit through the wall module.
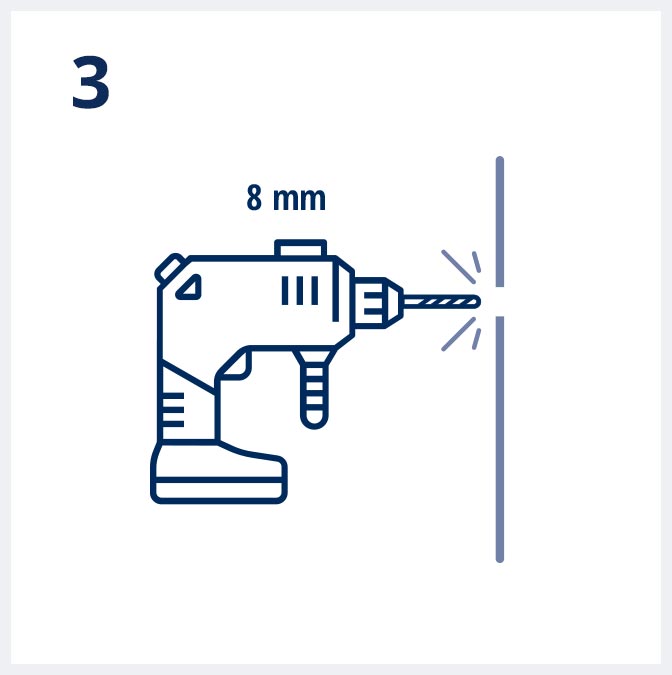
Remove the wall module and enlarge the holes using a Ø 8mm drill bit.
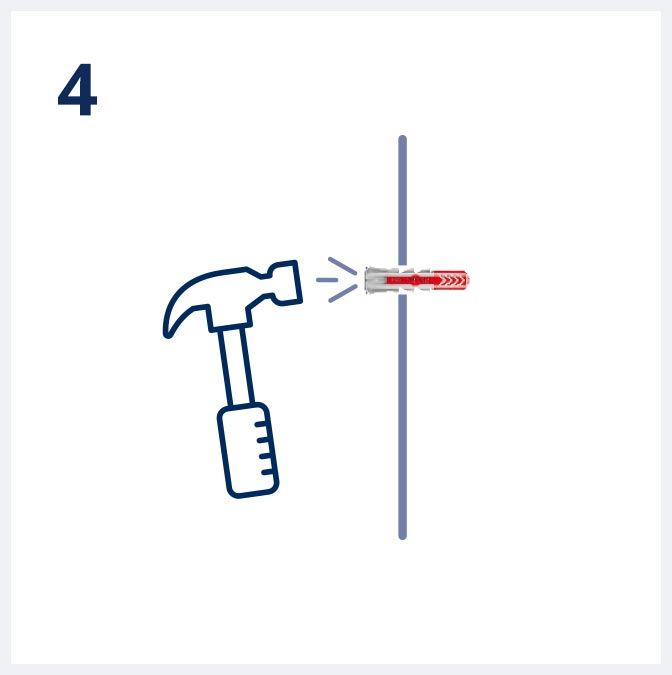
Tap the wall plugs in flush.
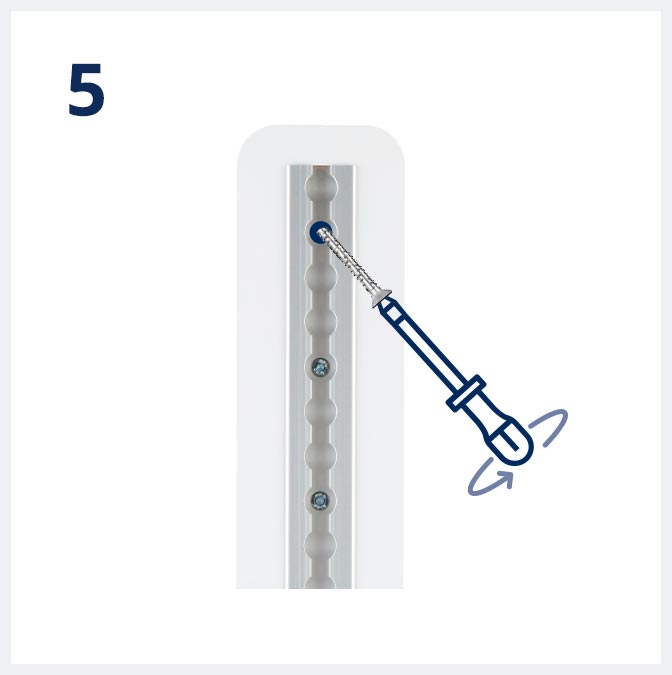
Attach the wall module to the wall using the provided screws.
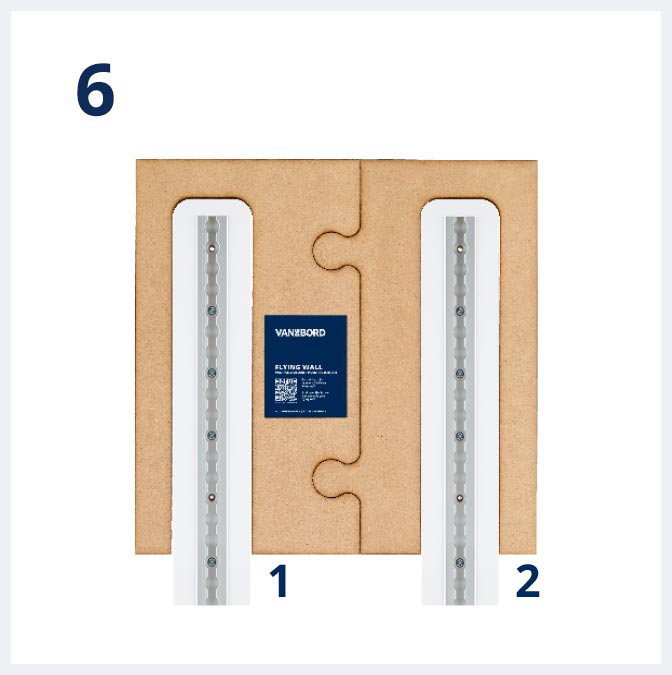
Position the 2nd module on the wall precisely using the mounting template.
Repeat steps 2-6 until all wall modules are installed.
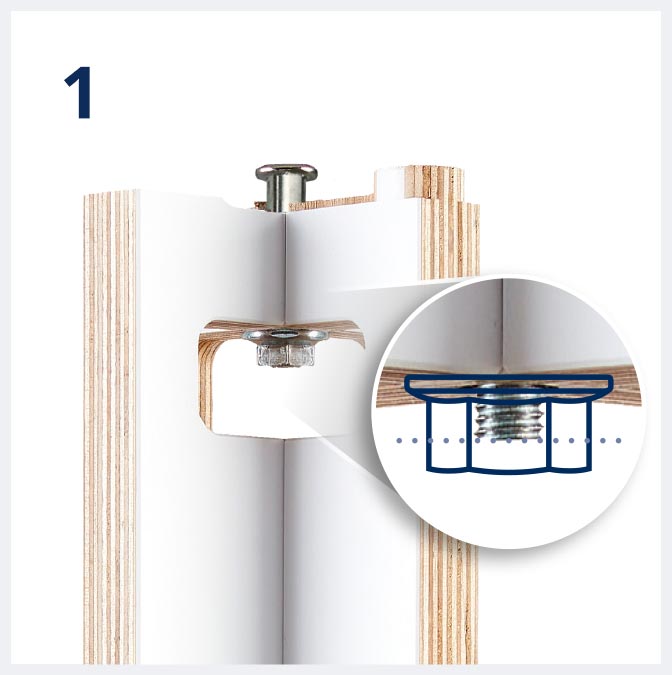
Adjust the nut so that it protrudes halfway over the adjusting screw.
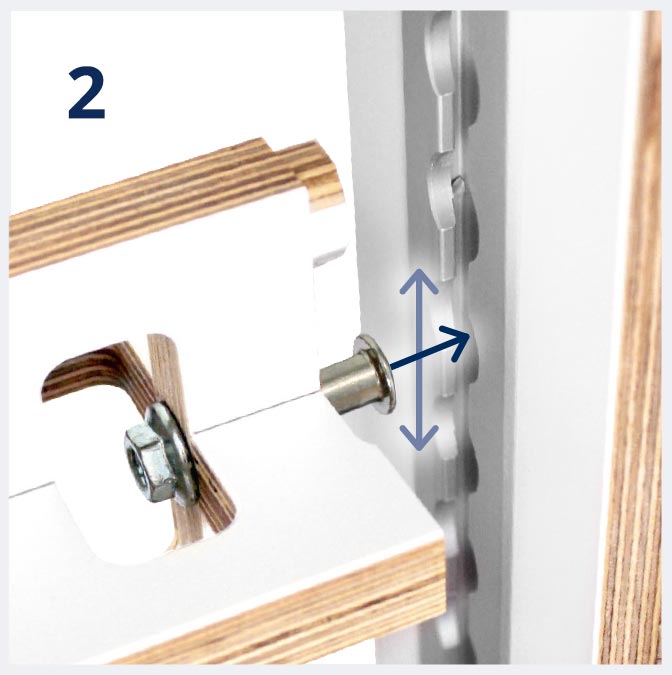
Insert the screw into the rail and position the node.
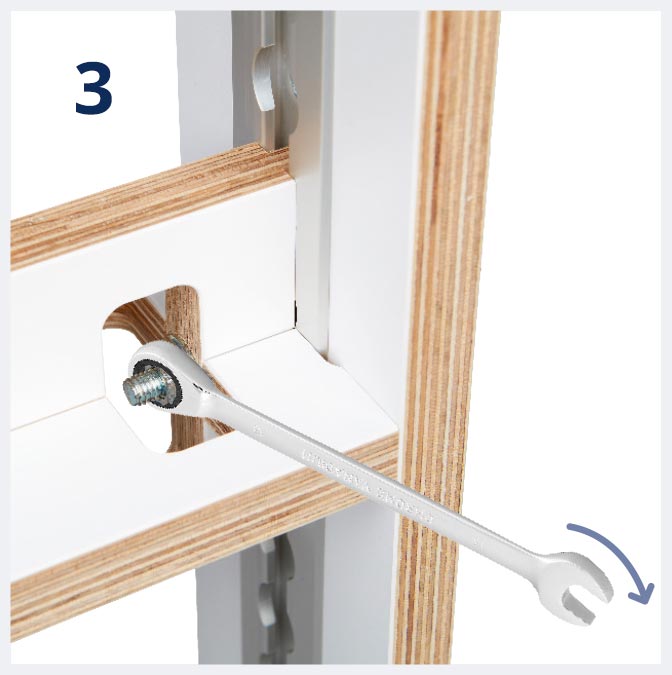
Tighten the nut as much as possible by hand, and then secure it further using the ratchet wrench.
Repeat steps 1-3 until all X and T nodes are installed.
Do You Need More Information?
Safety Instructions
- The screws and anchors provided by us are suitable for use in concrete, solid brick, solid sand-lime brick, aerated concrete, perforated brick, hollow sand-lime brick, gypsum board, plasterboard and gypsum fiber boards, hollow blocks made of lightweight concrete, concrete or similar, natural stone, chipboard, solid gypsum boards, and solid lightweight concrete bricks.
- For attachment to other wall materials, the respective commercially available special fastening elements must be used.
- Anchors and screws must be coordinated with each other. Screws must not be replaced with standard chipboard screws.


